

A cookie-decorating session needs a timeline as much as it needs cutters or piping tools. Separate baking, cooling, decorating and packing into different stages. Use a tested recipe for quantities and cooking instructions, then build the session around its actual requirements rather than assuming everything can happen in one hour.
This guide helps organise the work. It is not a substitute recipe, and it does not promise that a particular dough, icing or tool will give the same result in every kitchen.
Choose the design before making the dough
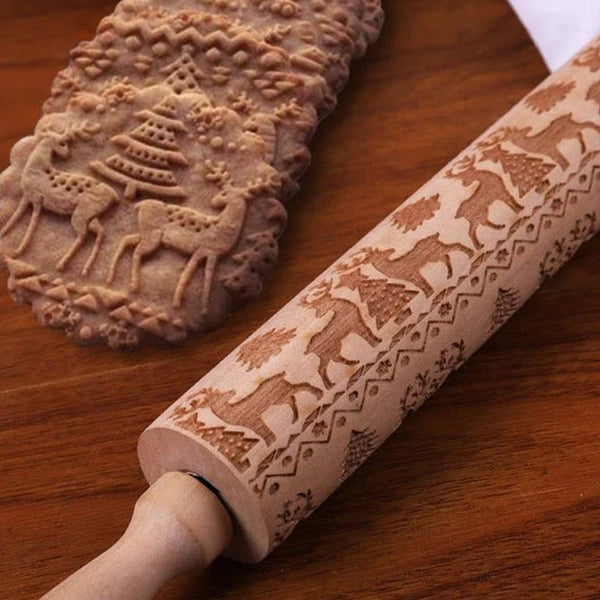
Decide whether you want simple cut shapes, an embossed surface or piped decoration. Each creates a different workflow. A highly detailed design can require more practice and handling than a simple shape, especially if several people are working together.
For example, the Festive Pattern Embossing Rolling Pin and Gingerbread House Cookie Cutter Set are tools for different approaches. Check the recipe's suitability for the technique instead of assuming any cookie dough will hold every pattern or construction.
Keep the first session manageable. One dough and one decorating approach make it easier to learn what needs changing next time.
Work backward from packing time
Write the stages in order: prepare ingredients, mix, rest or chill if required, shape, bake, cool, decorate and allow any necessary setting time. Add cleanup between stages where the work surface needs to change tasks.
Follow the recipe for safe baking and storage. The FDA explains that ordinary flour is a raw food and raw dough should not be eaten. Keep tasting separate from raw ingredients, and clean surfaces and utensils appropriately after handling flour and dough.
If the cookies are for a fixed event, leave room in the schedule for a practice batch rather than making the first attempt your only attempt.
Set out a decorating station only after baking is organised
Create a clean area for cooled cookies and another place for finished pieces. Keep tools visible and protect the working surface in a way appropriate for food preparation.
A Nozzle Set Cupcake Tool may offer decorating options, but use the actual included tips and a suitable icing. Practise the chosen pattern on an appropriate surface first. Do not fill every available tip merely because it came in the set.
For a group session, give each person enough space to work without reaching across someone else's tray. Share instructions about ingredients and allergens before food is handled or served.
Pack only when the recipe's finish is ready
Check that decoration has reached the setting stage described by the recipe before stacking or enclosing the cookies. A design that looks complete may still be vulnerable to smearing when packed.
Choose food-appropriate packaging that fits the actual cookie size. Store the finished food according to the recipe and ingredient requirements, especially when fillings or toppings need refrigeration.
Keep a useful note for the next batch
Record the recipe, cutter or tip used, and where the session took longer than expected. A photograph of the successful design is more useful than a vague note that the batch was “easy.”
Next time, adjust the schedule or simplify the decoration before buying more equipment. Good tools support a clear process; they do not replace cooling time, recipe instructions or a manageable plan.